Gallery:Midna: Difference between revisions
mNo edit summary |
m (Text replacement - "HWL VS (.*) Icon.png" to "HWDE $1 Mini Map Icon.png") |
||
| Line 88: | Line 88: | ||
File:HW Midna Portrait 5.png|Midna portrait | File:HW Midna Portrait 5.png|Midna portrait | ||
File:HW Dark Midna Portrait.png|Dark Midna portrait | File:HW Dark Midna Portrait.png|Dark Midna portrait | ||
File: | File:HWDE Midna Mini Map Icon.png|Midna Mini Map icon | ||
File: | File:HWDE Dark Midna Mini Map Icon.png|Dark Midna Mini Map icon | ||
File:HW Midna Adventure Mode Icon.png|Midna Adventure Mode icon | File:HW Midna Adventure Mode Icon.png|Midna Adventure Mode icon | ||
File:HW Midna Head Adventure Mode Icon.png|Midna Adventure Mode head icon | File:HW Midna Head Adventure Mode Icon.png|Midna Adventure Mode head icon | ||
Revision as of 16:26, 4 June 2018
This page is a gallery page, featuring character art of Midna.
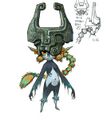
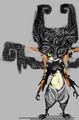
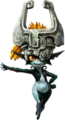
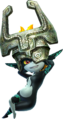
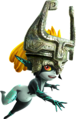
Imp Form
-
-
-
-
-
-
-
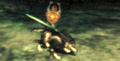
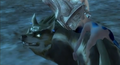
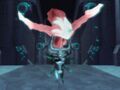
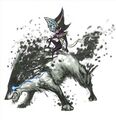
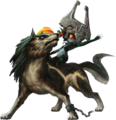
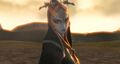
Midna atop Wolf Link
-
Artwork of Midna atop Wolf Link
-

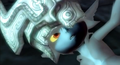
Midna's in-game icon
-
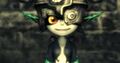
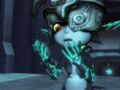
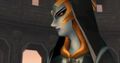
Closeup of Midna
-
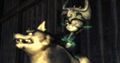
Midna atop Wolf Link
-
Midna wearing the Ordon Shield as a Mask
-
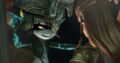
Zant whispering to Midna
-
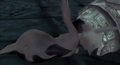
Midna having been Injured by Lanaryu
-
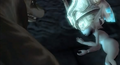
Injured Midna resting
-
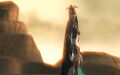
Looking up
-
Back side
-
Close up to her face
-
Midna being healed by Zelda's power
-
Midna being healed by Zelda's power
-

Midna after Zelda sacrifices herself to save her
-

Midna holding the Shadow Crystal
-
Link and Midna in the Sacred Grove
-
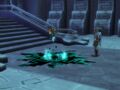
Midna assembling the Fused Shadow
-
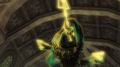
Midna using the Fused Shadow to kill Zant
-
Midna in fear of the Fused Shadow's power
-
Midna after killing Zant
-
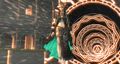
Midna summoning a portal to leave the Palace of Twilight
-
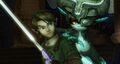
Midna and Link preparing to fight Ganondorf
-
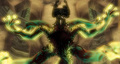
Midna unleashing the full power of the Fused Shadow
-
Midna trying to use a Trident to kill Ganon
-
Midna frustrated at Ganondorf for possessing Zelda
-
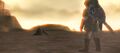
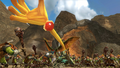
Early screenshot of Wolf Link and Midna outside Hyrule Castle covered in Twilight
-
Midna on the official Zelda website
-
Concept art
-
Concept art
-
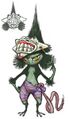
Concept art
-
Concept art
-
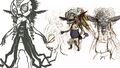
Concept art
-
Concept art
-
Concept art
-
Concept art of Midna atop Wolf Link


Twilight Princess HD
-
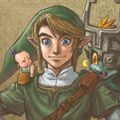
Midna artwork
-
Artwork of Midna atop Wolf Link
-
Artwork of Midna, Link and Malo
-
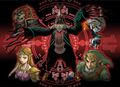
Promotional artwork depicting Midna, Link, Zelda, Ganondorf and Zant
-
Midna summoning a portal
-

Midna cloaked in shadows


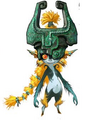
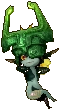
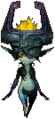
True Form
-
Concept art of Midna's true form
-
Midna being revived by the Light Spirits
-
Midna after she is revived by the Light Spirits
-
Link meeting with Midna after her true form has been restored
-
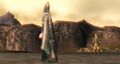
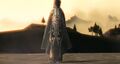
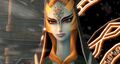
Front view of Midna's restored form
-
The back of Midna's robe after she reveals her true form
-
Closeup of Midna's true form
-
Midna alongside Link and Zelda at the Mirror of Twilight
-
Midna in front of the Mirror of Twilight
-
Closeup of Midna at the Mirror of Twilight
-
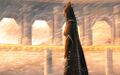
Midna bidding farewell to Link
-
Midna leaving through the Mirror of Twilight
-
Midna returning to the Palace of Twilight


Other Appearances
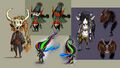
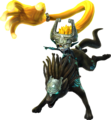
Hyrule Warriors
-
Render of Midna
-
Midna wielding the Cursed Shackle
-
Midna's Standard Outfit (Master Quest)
-

Midna's Standard Outfit (Twilight)
-
Midna's Ordon Shield Costume from the Termina Map
-
Midna portrait
-
Midna portrait
-
Midna portrait
-
Midna portrait
-
Midna portrait
-
Dark Midna portrait
-

Midna Mini Map icon
-

Dark Midna Mini Map icon
-

Midna Adventure Mode icon
-

Midna Adventure Mode head icon
-
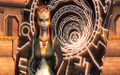
Midna's Fused Shadow transformation


_Model.png)
_Model.png)


Hyrule Warriors Legends
-
Cover artwork of Midna
-
Midna's Standard Outfit (Great Sea)
-
Midna's Standard Outfit (Wind Waker)
-
Midna's Standard Outfit (Lorule)


Hyrule Warriors: Definitive Edition
-
Midna wielding the 8-Bit Red Ring
-

Midna wielding the Thunderhead Shackle


Video Gallery
Super Smash Bros. for Nintendo 3DS/Wii U
-

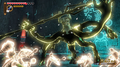
Midna's Assist Trophy

Super Mario Maker
-
Midna on the Wolf Link Costume
amiibo
-
Midna on The Legend of Zelda series Wolf Link amiibo